middleportal.com – It’s that time of year again! The air is crisp, carols are playing, and houses are starting to transform into winter wonderlands. But before you untangle those dusty boxes of lights, take a breath and follow these pro tips to ensure your outdoor decorating is merry and bright, safe, and stylish.
1. Plan your design: Before you start hanging lights, take some time to plan out your design. Consider the architectural features of your home and the surrounding landscape. Think about where you want to highlight and what areas you want to emphasize. This will help you determine how many lights you need and where to place them for maximum impact.
2. Check your lights: Before you start hanging them, inspect your lights for any damage or frayed wires. It’s important to ensure that all the bulbs are working properly and that there are no exposed wires. If you find any issues, it’s best to replace the lights to avoid any potential safety hazards.
3. Use the right type of lights: There are different types of lights available for outdoor use, so make sure you choose the right ones for your needs. LED lights are a popular choice as they are energy-efficient and long-lasting. They also produce less heat, reducing the risk of fire hazards. Additionally, consider using weather-resistant lights that can withstand the elements.
4. Use extension cords safely: When using extension cords, make sure they are rated for outdoor use and are in good condition. Avoid overloading the cords by plugging in too many lights or other electrical devices. It’s also important to keep the cords away from water and snow to prevent any electrical accidents.
5. Secure the lights properly: Use clips or hooks specifically designed for hanging lights to secure them in place. Avoid using staples or nails, as they can damage the wires and pose a safety risk. Take care not to tug on the lights too tightly, as this can also damage the wires and bulbs.
6. Consider timers or smart plugs: To save energy and ensure your lights turn on and off at the desired times, consider using timers or smart plugs. These devices allow you to set a schedule for your lights, so you don’t have to worry about remembering to turn them on and off every day.
7. Stay safe: Always prioritize safety when hanging outdoor Christmas lights. Use a sturdy ladder or scaffolding to reach high areas, and have someone spot you to ensure stability. Avoid working in wet or icy conditions, and be cautious of any overhead power lines. If you’re unsure about any aspect of the installation process, it’s best to consult a professional.
By following these pro tips, you can create a stunning display of outdoor Christmas lights that will impress your neighbors and bring joy to all who pass by. So, grab your hot cocoa, put on some festive music, and get ready to spread some holiday cheer!
When it comes to illuminating your decorating journey, there are a few safety measures you should keep in mind. One of the most important aspects is to always prioritize your safety while working on a ladder. Make sure the ladder is placed on level ground and have someone hold it for added stability. It’s crucial to resist the temptation of reaching just a bit further, as the risk of a fall is never worth it.
Another safety consideration is to inspect all cords for any signs of damage before plugging them in. Frayed or damaged cords can pose a serious electrical hazard, so it’s essential to replace them if needed. Additionally, when using extension cords for outdoor decorations, opt for those with built-in GFCI protection. This feature helps prevent electrical shock in case of any faults.
It’s also important to be aware of the wattage limits of your extension cords. Overloading them with too many high-wattage decorations or appliances can lead to overheating and potentially cause a fire. Always check the manufacturer’s guidelines and ensure that you are within the safe limits.
Now, let’s talk about strategically stringing your lights for maximum sparkle. When it comes to outdoor decorations, consider the layout of your space and plan accordingly. Start by outlining the areas you want to illuminate, such as the roofline, windows, or trees. This will help you determine the length and quantity of lights you’ll need.
When stringing lights, use clips or hooks specifically designed for outdoor use. These will securely hold the lights in place without causing any damage to your property. It’s also a good idea to use zip ties or twist ties to keep the cords neatly organized and prevent them from tangling.
For added visual appeal, consider incorporating different types of lights, such as icicle lights or net lights. These can create a stunning effect and add depth to your overall display. Additionally, consider using timers or smart plugs to automate the lighting schedule, saving you the hassle of manually turning them on and off every day.
Remember, safety should always be your top priority when embarking on your decorating journey. By following these guidelines and taking the necessary precautions, you can ensure a safe and dazzling display that will be the envy of the neighborhood.
Plan Your Attack: Before untangling a mountain of lights, take a walk around your house and visualize your lighting scheme. Sketch a rough plan or take pictures to remember where you want lights to go.
Clip and climb: Invest in good quality light clips specifically designed for your siding or gutters. Universal clips often work well, but some houses might require s-shaped hooks or zip ties for a secure fit.
Work your way down: For a professional look, start at the highest point, like your roofline, and work your way down. This allows you to hide excess cord behind lights already in place.
Once you have your plan in mind and the right clips in hand, it’s time to tackle the task of hanging your holiday lights. Begin by gathering all the necessary tools and materials, including the lights, clips, extension cords, and a sturdy ladder. It’s important to ensure that your ladder is in good condition and placed on a stable surface before climbing up.
Start at the highest point of your house, such as the roofline or the peak, and work your way down. This not only helps you create a visually appealing display but also makes it easier to hide any excess cord behind lights that have already been hung. As you go along, be mindful of the spacing between each light and try to maintain a consistent distance to achieve a balanced look.
When attaching the lights, use the designated clips or hooks that are designed to securely hold them in place. These clips are typically made to fit specific types of siding or gutters, ensuring a snug and reliable attachment. If your house requires a different type of clip or hook, such as s-shaped hooks or zip ties, make sure to have them on hand before starting the installation.
As you move from one section of your house to another, periodically step back and observe your progress. This will allow you to make any necessary adjustments and ensure that the lights are evenly distributed. If you have a particularly large area to cover, consider using multiple strands of lights connected with extension cords to reach all the desired locations.
Once you have finished hanging the lights, take a moment to test them and make sure they are working properly. This will save you from any potential disappointment later on when you’re ready to admire your handiwork. Additionally, it’s a good idea to use a timer or smart plug to automate the lighting schedule, ensuring that your display turns on and off at the desired times.
By following these steps and taking the time to plan your lighting scheme, you can create a beautiful and professional-looking display that will bring joy and festive cheer to your home during the holiday season.
From Classic to Creative: Designing a Dazzling Display
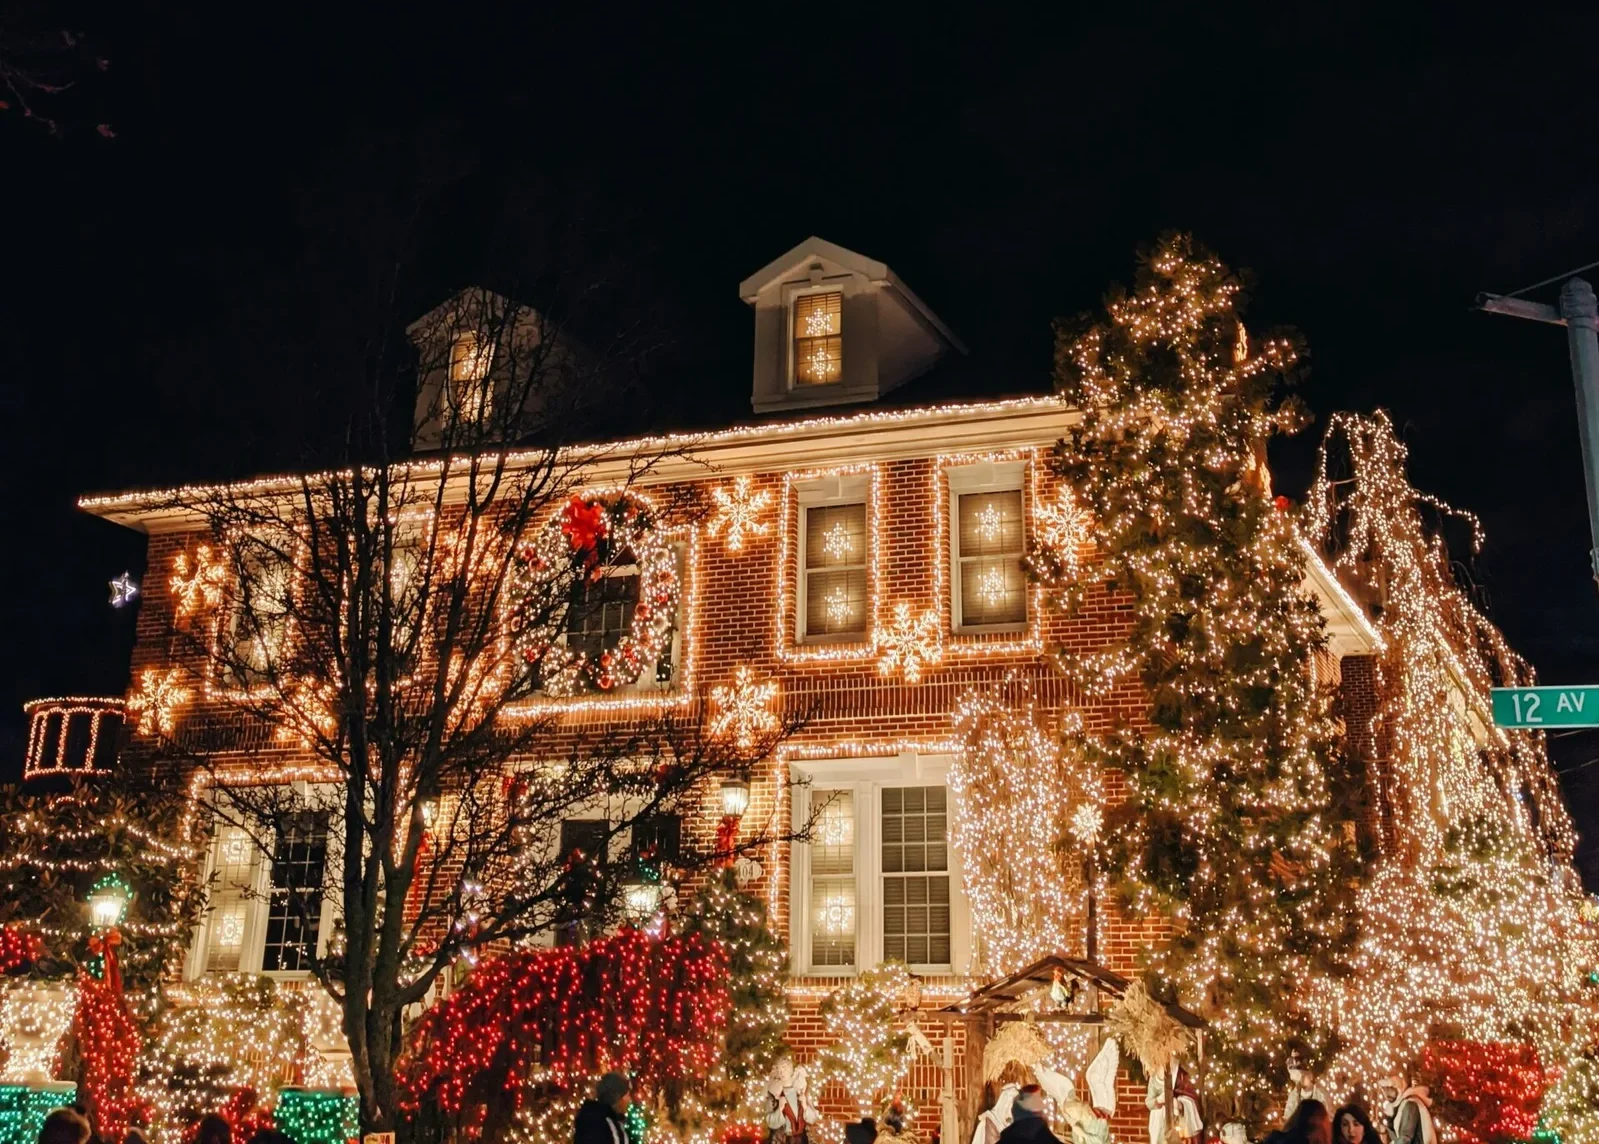
Outline your architecture: String lights along your roof eaves, outlining the shape of your house. This is a simple yet impactful way to create a festive border. Not only does it add a touch of elegance to your home, but it also provides a warm and welcoming ambiance to your outdoor space. The soft glow of the lights against the dark night sky creates a mesmerizing effect that is sure to captivate the attention of passersby.
Gutter magic: Transform your gutters into shimmering rivers of light. Use icicle lights or mini lights for a subtle twinkle. This technique not only adds a touch of sophistication to your display but also enhances the overall aesthetic appeal of your home. The cascading lights create a mesmerizing effect, resembling a gentle waterfall of shimmering stars. It is a sight to behold and will surely impress your guests and neighbors.
Window wonderland: Frame your windows with lights for a warm and inviting glow. For a touch of whimsy, drape strings of lights over tree branches or shrubs. This technique not only adds a festive touch to your windows but also creates a magical atmosphere in your garden. The soft glow of the lights against the backdrop of nature creates a captivating display that is sure to delight both young and old. It brings a sense of joy and wonder to your outdoor space, making it the perfect setting for holiday gatherings and celebrations.
Don’t forget the bushes! Net lights work wonders on shrubs and bushes, creating a magical, twinkling forest effect. This technique adds depth and dimension to your display, transforming your garden into a whimsical wonderland. The net lights delicately wrap around the bushes, creating a mesmerizing effect that resembles a starry night sky. It is a truly enchanting sight that will leave your guests in awe and create lasting memories for years to come.
Bonus Tip: Embrace LED Technology
Lighten your load: LED lights use significantly less energy than traditional incandescent bulbs, saving you money on your electricity bill. But the benefits of LED technology don’t stop there. In fact, there are several reasons why you should consider making the switch to LED lights this holiday season.
First and foremost, LED lights are known for their extended lifespan. Unlike incandescent bulbs that burn out after just a few thousand hours of use, LED lights can last up to 50,000 hours or more. This means that you won’t have to constantly replace burnt-out bulbs, saving you time and money in the long run.
Another advantage of LED lights is that they emit minimal heat. Unlike incandescent bulbs that can become hot to the touch, LED lights stay cool even after hours of use. This makes them a safer option, especially when decorating near flammable materials like curtains or Christmas trees. So you can have peace of mind knowing that your holiday decorations won’t pose a fire hazard.
Furthermore, LED lights are available in a wide range of colors and styles, allowing you to get creative with your holiday decorations. Whether you prefer classic white lights or vibrant multicolored ones, there’s an LED option for every taste and theme. You can even find LED lights that come with different lighting effects, such as twinkling or fading, to add an extra touch of magic to your display.
Lastly, LED lights are environmentally friendly. They are made from non-toxic materials and do not contain hazardous substances like mercury, which can be found in traditional incandescent bulbs. Additionally, LED lights are highly energy-efficient, using up to 80% less energy than incandescent bulbs. This not only reduces your carbon footprint but also helps to conserve natural resources.
By embracing LED technology, you can not only save money on your electricity bill but also enjoy the many benefits that come with it. So this holiday season, why not make the switch to LED lights and transform your home into a festive wonderland? Your wallet, the environment, and your holiday spirit will thank you!