middleportal.com – Checking fuses is an essential task when troubleshooting electrical issues in your home or vehicle. Fuses act as protective devices that prevent excessive current flow and protect electrical circuits from damage. Multimeters are versatile tools that can be used to check fuses quickly and accurately. In this guide, we will show you how to check fuses with a multimeter using the resistance measurement setting.
Step 1: Set your Multimeter
Start by setting your multimeter to measure resistance. Look for the resistance symbol (Ω) on your multimeter dial and select the appropriate range. If you are unsure, start with the lowest range and work your way up if needed.
Step 2: Test the Multimeter
Before testing the fuse, it’s a good idea to test your multimeter to ensure it’s functioning correctly. Touch the multimeter probes together and check the reading on the display. This initial reading should be close to zero or display a low resistance value.
Step 3: Test the Fuse
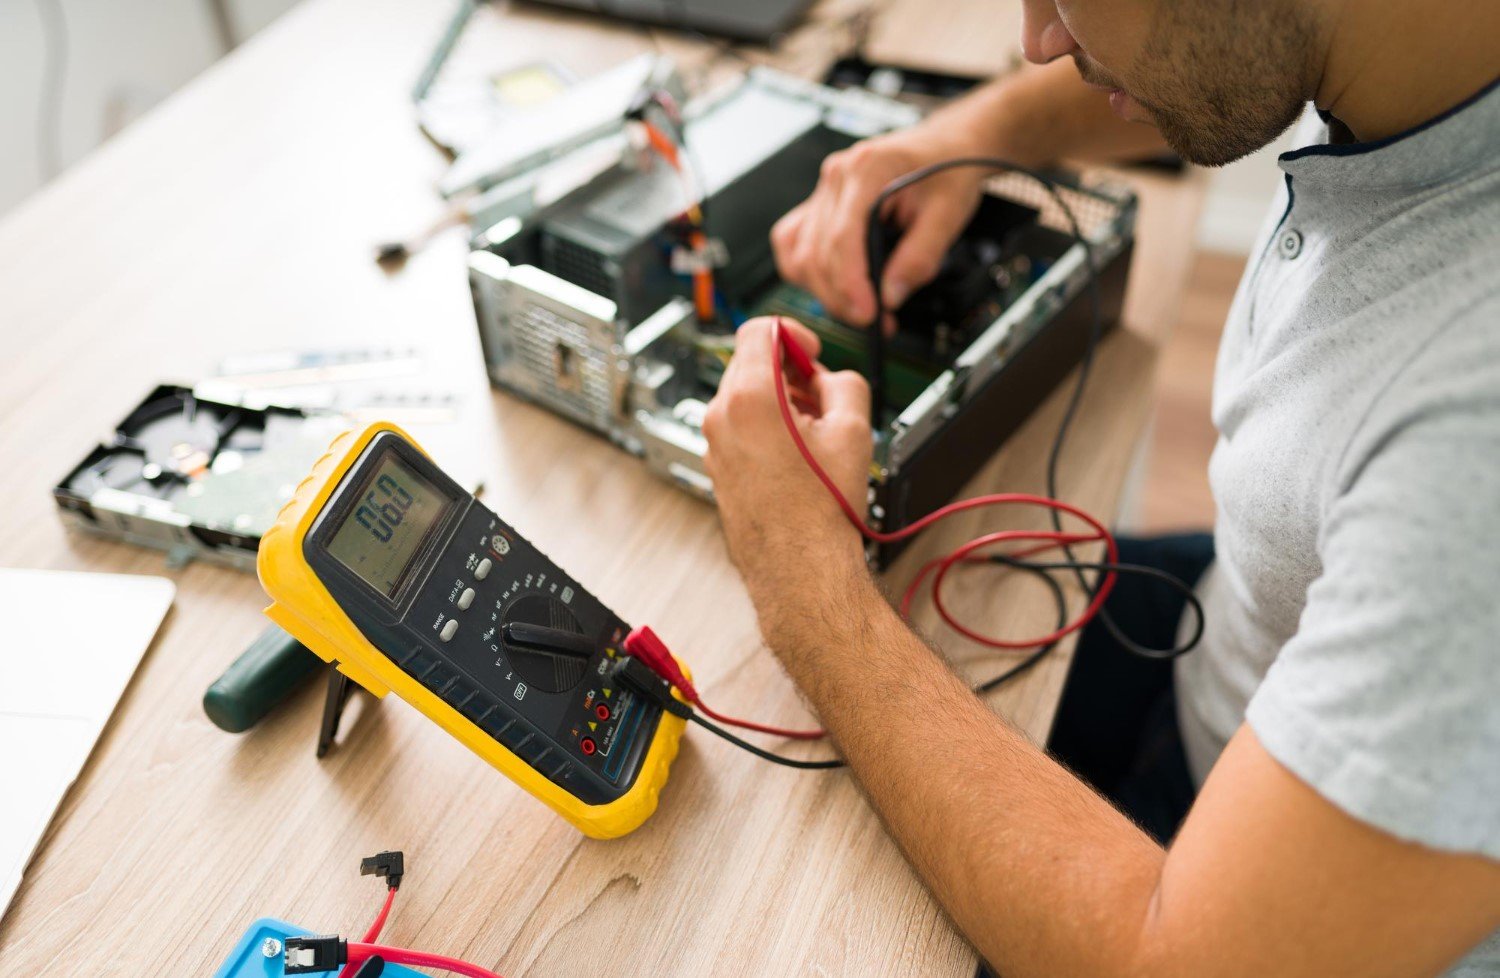
With the multimeter still set to measure resistance, place the probes on either side of the fuse you want to test. It’s important to ensure that the fuse is removed from the circuit before testing. The multimeter probes should make contact with the metal ends of the fuse.
Step 4: Interpret the Reading
After making contact with the fuse, check the reading on the multimeter display. If the reading is similar to the initial reading you obtained in Step 2, it indicates that the fuse is intact and functioning properly. However, if the multimeter displays no reading or shows “OL” (which stands for overload), it means that the fuse has blown and needs to be replaced.
Step 5: Replace the Fuse
If you determine that the fuse is blown, it’s important to replace it with a new one of the same rating. Make sure to turn off the power before replacing the fuse to avoid any electrical hazards. Insert the new fuse into the appropriate slot and secure it in place.
Conclusion
Checking fuses with a multimeter is a simple and effective way to diagnose electrical problems. By following the steps outlined in this guide, you can quickly identify blown fuses and take the necessary steps to replace them. Remember to always exercise caution when working with electricity and consult a professional if you are unsure or uncomfortable with the process.