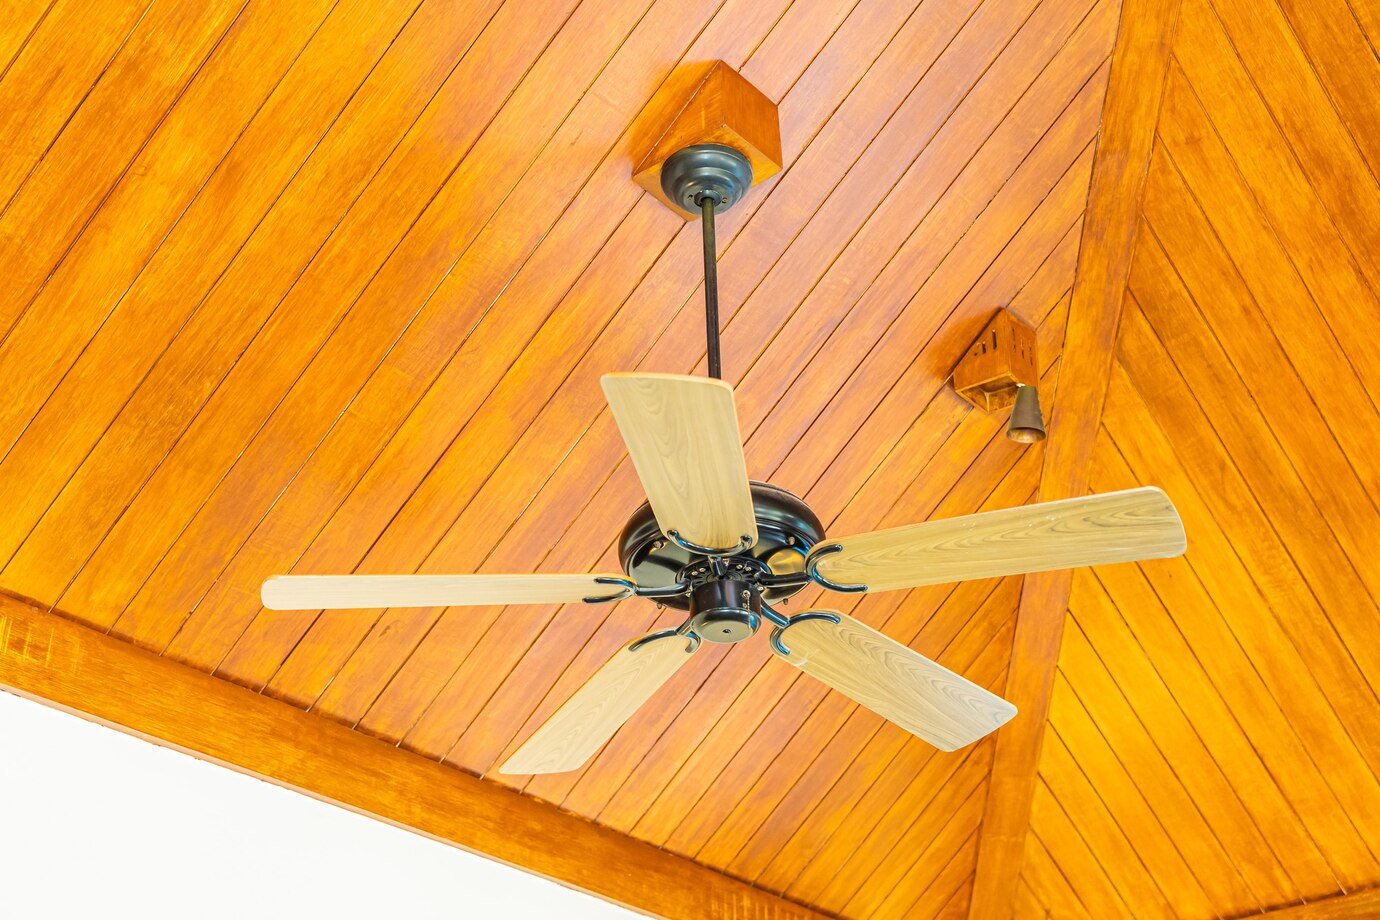
middleportal.com – Installing a ceiling fan is a great way to improve air circulation and add a touch of style to any room. Whether you’re replacing an old fan or installing one for the first time, this step-by-step guide will walk you through the process.
Step 1: Remove the Existing Light Fixture
The first step in installing a ceiling fan is to remove the existing light fixture. Make sure to turn off the power at the circuit breaker before starting any electrical work. Once the power is off, remove the light bulbs, shades, and any other components of the light fixture. Then, unscrew the mounting bracket and disconnect the wires.
Step 2: Remove Box and Cut New Hole
Next, you’ll need to remove the electrical box that held the light fixture. Use a screwdriver to remove the screws holding the box in place. Once the box is removed, use a keyhole saw or a drywall saw to cut a new hole in the ceiling that is the same size as the new electrical box.
Step 3: Attach New Electrical Box
After cutting the new hole, attach the new electrical box to the ceiling joist using screws. Make sure the box is secure and level.
Step 4: Glue on the Ceiling Medallion
If you want to add a decorative touch to your ceiling fan, you can glue on a ceiling medallion. Apply a small amount of construction adhesive to the back of the medallion and press it firmly against the ceiling, aligning it with the hole for the electrical box.
Step 5: Mount the Ceiling Plate
Next, mount the ceiling plate to the electrical box using the screws provided. Make sure the plate is level.
Step 6: Assemble the Fan Components
Now it’s time to assemble the fan components. Follow the manufacturer’s instructions to attach the fan motor to the ceiling plate and connect the wires. Then, attach the fan blades to the motor using the screws provided.
Step 7: Make the Wire Connections
Once the fan is assembled, make the wire connections. Match the wires from the fan to the corresponding wires in the electrical box, using wire nuts to secure the connections. Make sure to connect the grounding wire as well.
Step 8: Attach the Blades and Lights
Finally, attach the fan blades and any lights that came with the fan. Follow the manufacturer’s instructions for attaching the blades and lights securely.
Conclusion
Installing a ceiling fan may seem like a daunting task, but by following these step-by-step instructions, you can do it yourself with confidence. Remember to always turn off the power before working with electrical components, and if you’re unsure about any step of the process, consult a professional electrician.