middleportal.com – Do you often find yourself with shaky footage that needs a little extra stability? Look no further than Adobe Premiere Pro’s powerful video stabilization feature. In this step-by-step guide, we will walk you through the process of stabilizing your videos to achieve smooth, professional-looking results.
Step 1: Import and Add the Video to the Timeline
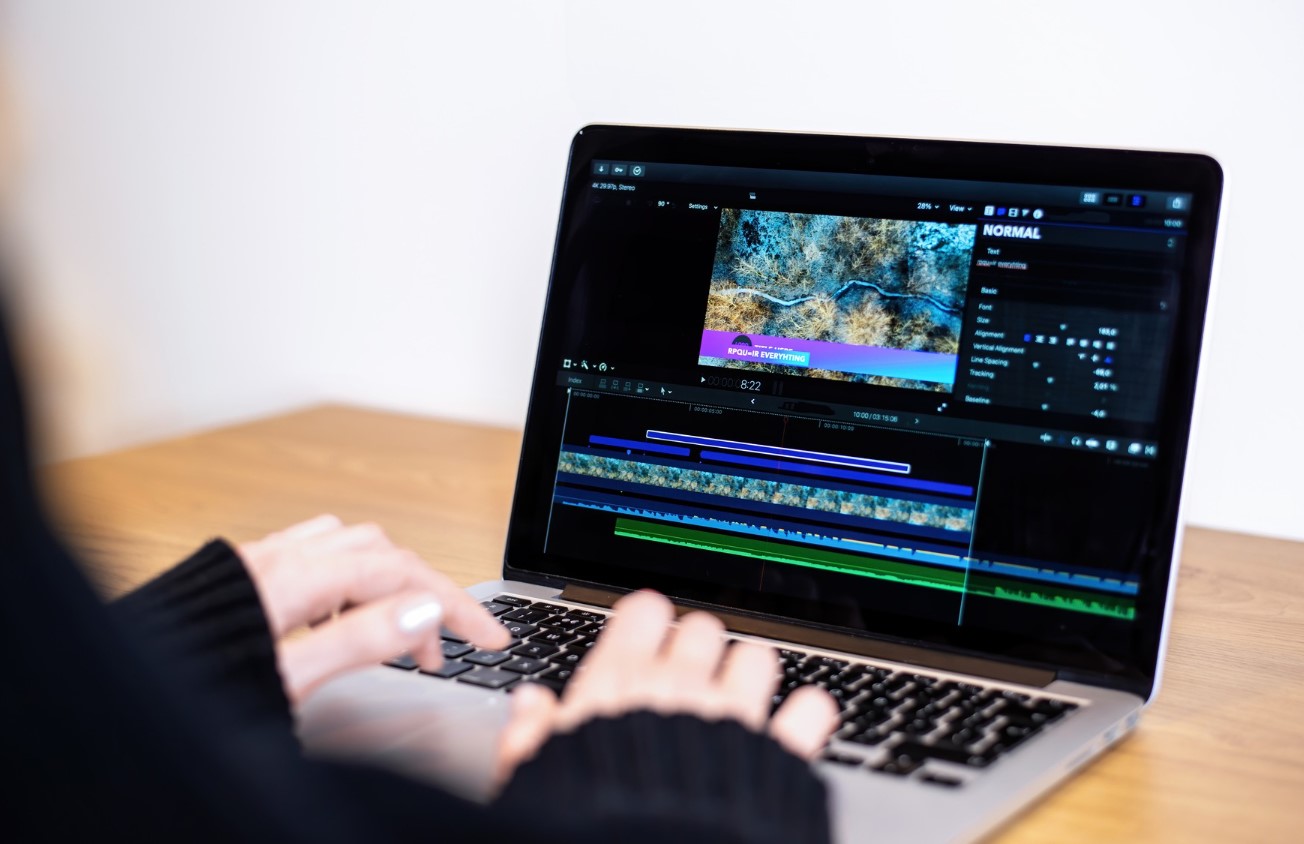
The first step is to import your video into Premiere Pro. Simply select the video file you want to stabilize and drag it into the timeline.
Step 2: Access the Effects Workspace
Next, navigate to the “Effects” workspace. You can find this option in the top menu bar under the “Window” tab. Select “Effects” from the drop-down menu to open the Effects panel.
Step 3: Locate the Video Effects Folder
Once you’re in the Effects panel, look for the Video Effects folder. It should be located on the left side of the panel.
Step 4: Open the Distort Folder
Within the Video Effects folder, locate the “Distort” folder. Click on it to expand the folder and reveal its contents.
Step 5: Apply the Warp Stabilizer Effect
Inside the “Distort” folder, you will find the powerful “Warp Stabilizer” effect. Double-click on it to apply it to your video clip.
Step 6: Adjust the Warp Stabilizer Settings
Once the effect is applied, the Warp Stabilizer panel will open automatically. Here, you can fine-tune the stabilization settings to achieve the desired result.
Step 7: Analyze and Stabilize
Click on the “Analyze” button to let Premiere Pro analyze the footage and determine the necessary adjustments for stabilization. Depending on the length and complexity of your video, this process may take some time.
Step 8: Review and Refine
After the analysis is complete, you can preview the stabilized footage in the Program Monitor. Take the time to review the results and make any necessary refinements to the stabilization settings.
Step 9: Render and Export
Once you are satisfied with the stabilization, it’s time to render and export your final video. Go to the “File” menu and select “Export” to choose your preferred output settings and file format.
With Premiere Pro’s powerful video stabilization feature, shaky footage is a thing of the past. Follow these steps and take your videos to the next level with smooth, professional-looking results.