middleportal.com – Are you a gardening enthusiast looking to grow your own pumpkins? Well, you’re in luck! In this blog post, we’ll guide you through the process of drying pumpkin seeds for planting. Drying pumpkin seeds is an essential step to ensure successful germination and healthy pumpkin plants. So, let’s get started!
Step 1: Harvesting and Cleaning
The first step in drying pumpkin seeds is harvesting them from a ripe pumpkin. Choose a pumpkin with fully matured seeds, usually indicated by a hard and fully orange skin. Cut open the pumpkin and scoop out the seeds using a spoon or your hands.
Once you have collected the seeds, it’s important to clean them thoroughly. Rinse the seeds under cold water, removing any clinging fibrous pumpkin tissue. This will prevent mold and rot during the drying process.
Step 2: Drying Methods
There are several methods you can use to dry pumpkin seeds: sun drying, dehydrator drying, and oven drying. Let’s explore each method:
Sun Drying
If you live in a sunny and dry climate, sun drying is an excellent option. Simply spread the cleaned seeds on a flat surface, such as a baking sheet or a wire rack. Place them in a sunny spot outdoors, preferably on a warm and breezy day. Stir the seeds occasionally to ensure even drying and to prevent them from sticking together. Sun drying can take anywhere from a few days to a week, depending on the weather conditions.
Dehydrator Drying
If you have a food dehydrator, this method is quick and efficient. Set the dehydrator to a temperature of 115-120ºF. Spread the cleaned seeds on the dehydrator trays, making sure they are in a single layer. Dry the seeds for 1 to 2 hours, checking them periodically for dryness. The seeds should feel crisp and snap when broken.
Oven Drying
If you don’t have a dehydrator, you can use your oven to dry the pumpkin seeds. Preheat the oven to the lowest temperature setting, usually around 170ºF or warm. Spread the cleaned seeds on a baking sheet in a single layer. Place the baking sheet in the oven and leave the door slightly ajar to allow moisture to escape. Stir the seeds every 30 minutes to ensure even drying. The seeds should be ready in 3 to 4 hours.
Step 3: Storing the Dried Seeds
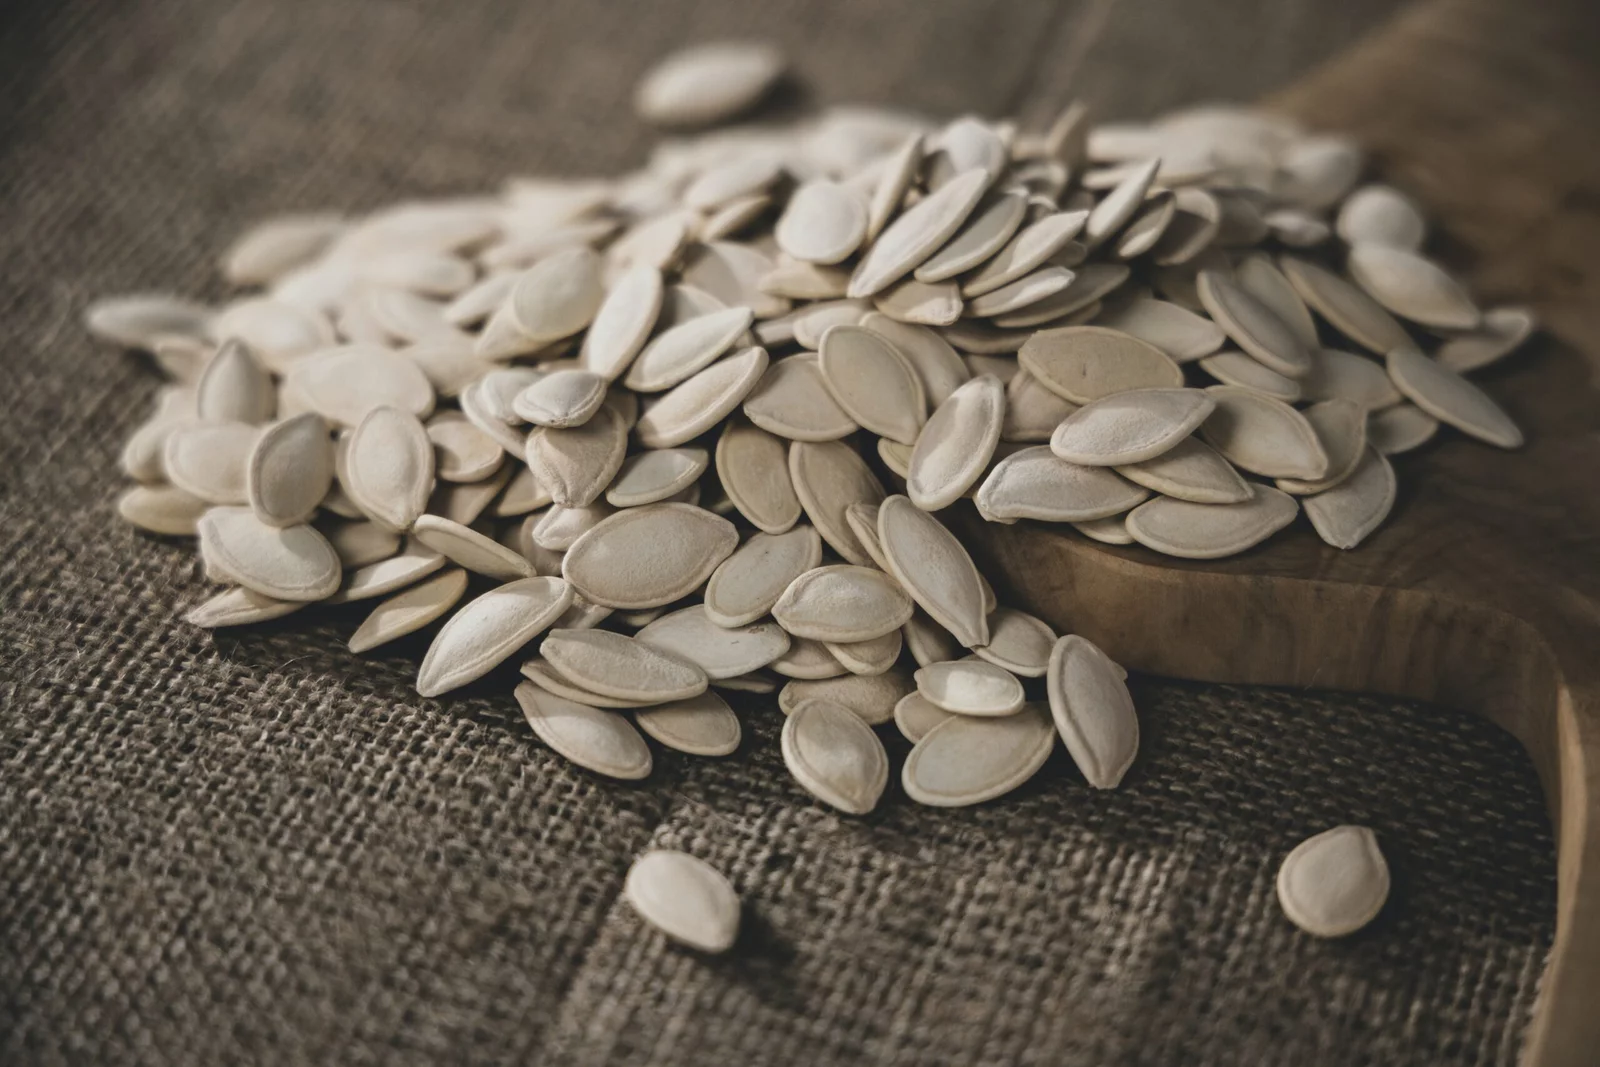
Once the pumpkin seeds are completely dry, it’s time to store them for future planting. Place the seeds in an airtight container, such as a glass jar or a sealed plastic bag. Store them in a cool, dark, and dry location, such as a pantry or a refrigerator. Properly stored pumpkin seeds can remain viable for up to 6 years!
Now that you know the art of drying pumpkin seeds, you’re ready to embark on your pumpkin-growing adventure. Enjoy the process and watch as your pumpkin plants flourish from the seeds you’ve carefully dried. Happy gardening!