middleportal.com – Composting is a natural process that turns kitchen scraps and yard waste into nutrient-rich soil amendment. It’s a fantastic way to divert organic materials from landfills, reduce your environmental footprint, and create a valuable resource for your garden. But for beginners, the idea of starting a compost pile might seem daunting. Fear not! This comprehensive guide will walk you through the steps of creating your very own compost pile, empowering you to transform your trash into treasure.
Building the Foundation: The Base Layer
The first step in creating a thriving compost pile is establishing a strong foundation. This base layer plays a crucial role in drainage and aeration, two vital factors for successful decomposition. Here’s how to build it:
- Choose a Location: Select a well-drained, partially shaded area in your yard. Avoid placing the pile directly under trees where it might receive excessive leaf litter or compete with tree roots for water.
- Prepare the Ground: Clear a small area of bare soil, roughly one cubic meter (1.3 cubic yards) in size. This will provide a stable base for your compost and encourage beneficial organisms like earthworms to migrate into the pile.
- Create Airflow: Add a layer of twigs, shredded branches, or coarse wood chips (around 5 cm or 2 inches thick) to the cleared area. This allows for air circulation within the pile, preventing it from becoming waterlogged and anaerobic (lacking oxygen). Alternatively, you can use a layer of old, shredded potting mix to achieve the same effect.
Layering Your Ingredients: The “Lasagna” Approach
Now comes the fun part – adding the organic materials that will decompose into rich compost. Here’s where the “lasagna” approach comes in:
-
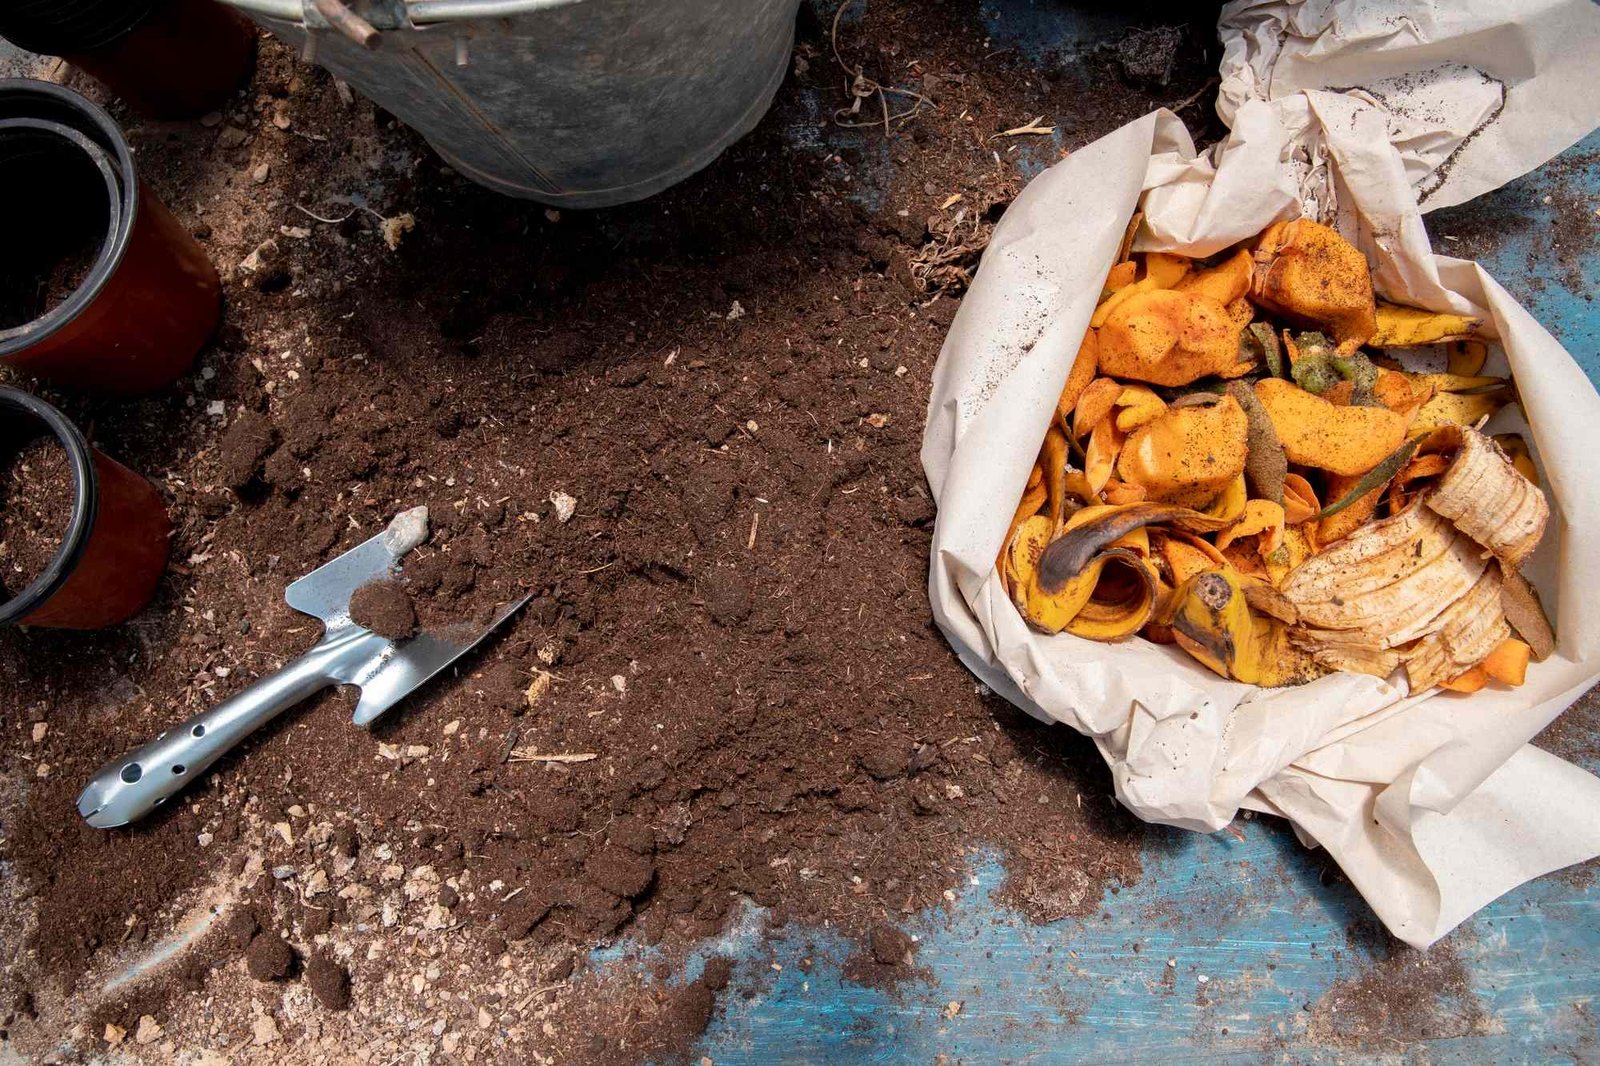
Green Materials (Nitrogen-Rich): These are fresh, moist, and green ingredients that provide nitrogen, a crucial component for the composting process. Examples include:
- Fruit and vegetable scraps (coffee grounds are okay in moderation)
- Tea bags and coffee filters (remove staples)
- Fresh grass clippings (avoid using large quantities)
-
Brown Materials (Carbon-Rich): These are dry, brown ingredients that provide carbon, another essential element for decomposition. They also help to balance the moisture content and structure of the pile. Some examples include:
- Dead leaves
- Shredded cardboard (avoid glossy or colored cardboard)
- Straw
- Sawdust (use sparingly, as it can compact the pile)
-
The Golden Ratio: Aim for a ratio of two parts brown material to one part green material. This ensures a good balance of nitrogen and carbon, which is essential for efficient decomposition.
Layering Tips:
- Start with a brown layer on the base to absorb any initial moisture from the green materials added above.
- Chop or shred your materials into smaller pieces (around 5 cm or 2 inches) for faster decomposition.
- Alternate layers of green and brown materials throughout the pile.
- Add water after each layer to maintain a consistent moisture level. Aim for the pile to feel like a damp sponge when squeezed.
Keeping Your Pile Happy: Cover, Aeration, and Monitoring
Once the pile is established, it’s important to provide the right environment for the decomposition process to thrive. Here are some key steps:
-
Cover Up: Cover your compost pile with a tarp or build a roof to help retain moisture and keep the contents contained. You can also use a thick layer of straw or shredded leaves as an alternative cover. This helps to regulate temperature and prevent the pile from drying out too quickly.
-
Turning for Success: Turning the pile regularly is essential for proper aeration. Use a shovel or a pitchfork to mix the layers every week or two. This incorporates oxygen throughout the pile, speeds up decomposition, and prevents the formation of anaerobic pockets that might produce unpleasant odors.
-
Monitoring Moisture: Moisture is crucial for the decomposition process. Regularly check the moisture content of your pile by squeezing a handful of material. If it feels dry and crumbly, add some water. Conversely, a soggy pile indicates a lack of aeration, requiring you to turn it more frequently.
The Fruits (or Vegetables) of Your Labor: Using Finished Compost
Patience is key when it comes to composting. Depending on the size and management of your pile, it can take anywhere from a few months to a year for your organic waste to transform into finished compost. Here are some signs that your compost is ready:
-
Rich, Dark Color: Finished compost has a dark, earthy appearance, a stark contrast to the initial brown and green materials you added.
-
Earthy Smell: The pungent odor of decomposing materials will be replaced by a pleasant, earthy smell that resembles fresh forest soil.
Cr crumbly Texture: Finished compost should have a crumbly texture that breaks apart easily in your hand. It shouldn’t be sticky or clumpy.
Using Your Compost:
Compost is a valuable addition to any garden. Here’s how you can utilize your finished product:
- Soil Amendment: Mix compost directly into your garden soil to improve its fertility, drainage, and water retention. This creates a healthier environment for your plants to thrive.
- Potting Mix: Add compost to your potting mix for container plants. This provides essential nutrients and promotes healthy root growth.
- Mulch: Spread a layer of compost around the base of your plants to suppress weeds, retain moisture, and gradually release nutrients into the soil.
Troubleshooting Common Composting Issues
Even the most dedicated composters might encounter occasional challenges. Here are some solutions to common composting problems:
-
Slow Decomposition: If your pile seems to be decomposing too slowly, it might be lacking in nitrogen. Try adding more green materials or a nitrogen source like coffee grounds (in moderation) to kickstart the process. Ensure the pile is properly aerated by turning it regularly.
-
Foul Odors: неприятный запах (niupesnoy zapakh) (unpleasant odors) emanating from your pile usually indicate an imbalance of moisture or air. If the pile is too wet, turn it more frequently to improve aeration. Conversely, add water if the pile feels dry and crumbly.
-
Fruit Flies: Fruit flies can be attracted to the pile, especially if it contains fruit scraps. To deter them, bury fruit scraps deep within the pile and ensure the overall moisture content is balanced. Covering the pile with a mesh screen can also help.
-
Vermin Activity: Rodents and other animals might be attracted to your compost pile if it contains meat scraps or dairy products. Avoid adding these items to your compost and ensure the pile is properly covered to deter unwanted visitors.
Composting Do’s and Don’ts
Do:
- Chop or shred your materials for faster decomposition.
- Maintain a good balance of green and brown materials.
- Turn the pile regularly for aeration.
- Add water to maintain a consistent moisture level.
- Cover the pile to retain moisture and regulate temperature.
Don’t:
- Add meat scraps, dairy products, or oily materials to the pile.
- Use diseased plants or weeds that might spread pathogens.
- Allow the pile to become too wet or dry.
- Forget to turn the pile, which can lead to slow decomposition and unpleasant odors.
Composting with Confidence
By following these steps and addressing any potential issues, you’ll be well on your way to becoming a composting pro. Remember, composting is a journey, not a destination. Embrace the learning process, and enjoy the satisfaction of transforming your waste into a valuable resource for your garden. With a little effort, you can create a healthier environment for your plants and reduce your environmental impact, one compost pile at a time.